Initializing our React.js on Rails project

# app/config/routes.rb


Then, please install the new gems

By specifying database
rails new task_app -d mysql
With default database
rails new task_app
Install all the gems using bundle install
bundle install
Add a gem ‘react-rails’ with in the Gemfile
gem ‘react-rails
Then, please install the new gems
bundle install
react-rails comes with an installation script, which will create a components.js file and a components directory under app/assets/javascripts where our React components will live.
rails g react:install
ashish@ashish:~/Desktop/projects/task_app$ rails g react:install
Running via Spring preloader in process 15471
create app/assets/javascripts/components
create app/assets/javascripts/components/.gitkeep
insert app/assets/javascripts/application.js
insert app/assets/javascripts/application.js
insert app/assets/javascripts/application.js
create app/assets/javascripts/components.js
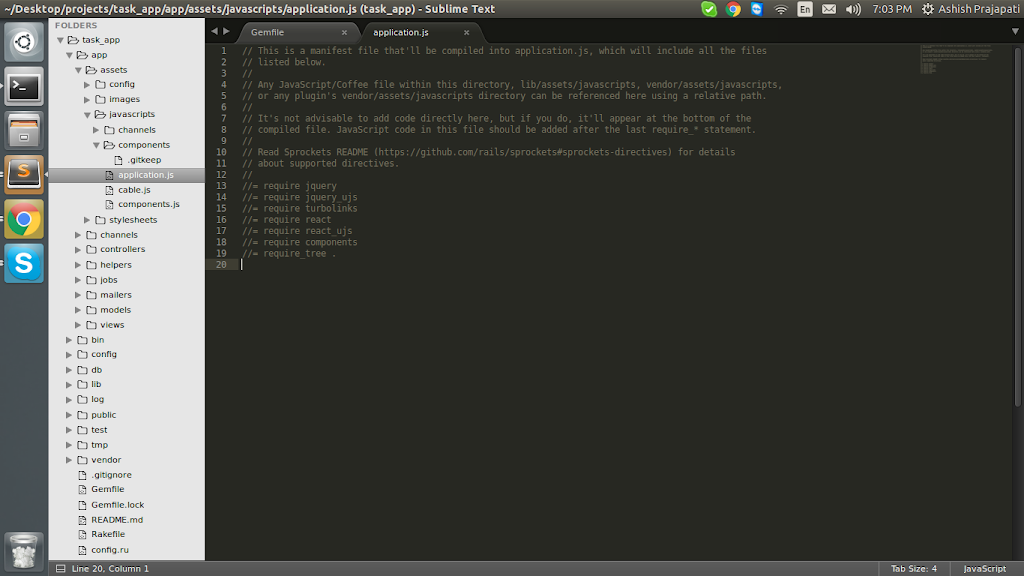
If you take a look at your application.js file after running the installer, you will notice three new lines:
//= require react
//= require react_ujs
//= require components

Basically, it includes the actual react library, the components manifest file and a kind of familiar file ended in ujs. As you might have guessed for the file’s name, react-rails includes an unobtrusive JavaScript driver which will help us to mount our React components and will also handle Turbolinks events.
Creating the Resource
We are going to create a Task resource which includes title, description, date and status. Instead of using the scaffold generator, we are going to use the resource generator, as we are not going to be using all of the files and methods created by the scaffold generator. Another option might be running the scaffold generator and then proceed to delete the unused files/methods, but our project can turn a little messy after this. Inside your project, run the following command:
rails g resource Task title description:text date:date status:string
ashish@ashish:~/Desktop/projects/task_app$ rails g resource Task title description:text date:date status:string
Running via Spring preloader in process 15699
invoke active_record
create db/migrate/20161010133903_create_tasks.rb
create app/models/task.rb
invoke test_unit
create test/models/task_test.rb
create test/fixtures/tasks.yml
invoke controller
create app/controllers/tasks_controller.rb
invoke erb
create app/views/tasks
invoke test_unit
create test/controllers/tasks_controller_test.rb
invoke helper
create app/helpers/tasks_helper.rb
invoke test_unit
invoke assets
invoke coffee
create app/assets/javascripts/tasks.coffee
invoke scss
create app/assets/stylesheets/tasks.scss
invoke resource_route
route resources :tasks
For some dump data, you can create a couple of tasks through rails console:
Please run these lines in rails console:
(1..4).to_a.collect{|i| Task.create(title:”Task #{i}”,description:”Description about task #{i}”,date:Date.today,status:”todo”)}
(5..7).to_a.collect{|i| Task.create(title:”Task #{i}”,description:”Description about task #{i}”,date:Date.today,status:”pending”)}
(8..10).to_a.collect{|i| Task.create(title:”Task #{i}”,description:”Description about task #{i}”,date:Date.today,status:”completed”)}
Don’t forget to start your server with rails s. Done!
We’re ready to write some code.
Nesting Components: Listing Tasks
For our first task, we need to render any existing task inside a table. First of all, we need to create an index action inside of our TasksController:
# app/controllers/tasks_controller.rb
class TasksController < ApplicationController
def index
@tasks = Task.all
end
end
Next, we need to create a new file index.html.erb under apps/views/tasks/, this file will act as a bridge between our Rails app and our React Components. To achieve this task, we will use the helper method react_component, which receives the name of the React component we want to render along with the data we want to pass into it.
<%# app/views/tasks/index.html.erb %>
<%= react_component ‘Tasks’, { data: @tasks } %>
# app/config/routes.rb
Add a default route as “tasks#index”
Rails.application.routes.draw do
resources :tasks
root “tasks#index”
# For details on the DSL available within this file, see http://guides.rubyonrails.org/routing.html
end
The time has come for us to build our First React component, inside the javascripts/components directory, create a new file called tasks.js.coffee, this file will contain our Tasks component.
# app/assets/javascripts/components/tasks.js.coffee
@Tasks = React.createClass
render: ->
React.DOM.div
className: ‘tasks’
React.DOM.h2
className: ‘title’
‘Tasks’
Now restart the application and it should look like that

The Task component will display a table row containing table cells for each task attribute. Don’t worry about those nulls in the React.DOM.* calls, it means we are not sending attributes to the components. Now update the render method inside the Tasks component with the following code:
These are some new changes for tasks.js.coffee
# app/assets/javascripts/components/tasks.js.coffee
@Tasks = React.createClass
getInitialState: ->
tasks: @props.data
getDefaultProps: ->
tasks: []
render: ->
React.DOM.div
className: ‘tasks’
React.DOM.h2
className: ‘title’
‘Tasks’
React.DOM.table
className: ‘table table-bordered’
React.DOM.thead null,
React.DOM.tr null,
React.DOM.th null, ‘Title’
React.DOM.th null, ‘Description’
React.DOM.th null, ‘Date’
React.DOM.th null, ‘Todo’
React.DOM.th null, ‘Pending’
React.DOM.th null, ‘Completed’
React.DOM.tbody null,
for task in @state.tasks
React.createElement Task, key: task.id, task: task
The method getDefaultProps will initialize our component’s properties in case we forget to send any data when instantiating it, and the getInitialState method will generate the initial state of our component. Now we need to actually display the tasks provided by our Rails view.
We need to create a new Task component to display each individual task, create a new file task.js.coffee under the javascripts/components directory and insert the following contents:
# app/assets/javascripts/components/task.js.coffee
@Task = React.createClass
render: ->
React.DOM.tr null,
React.DOM.td null, @props.task.title
React.DOM.td null, @props.task.description
React.DOM.td null, @props.task.date
React.DOM.td null, statusFormat(“todo”, @props.task.status)
React.DOM.td null, statusFormat(“pending”, @props.task.status)
React.DOM.td null, statusFormat(“completed”, @props.task.status)
It looks like we are going to need a helper method to format the status. Create a new utils.js.coffee file under javascripts/ with the following contents:
# app/assets/javascripts/utils.js.coffee
@statusFormat = (manual_status, automatic_status) ->
if manual_status==automatic_status
“Yes”
Now restart the rails application and it should look like that
Now we will add some designing stuff. We will use twitter bootstrap.
Add gem “twitter-bootstrap-rails” gem with in the Gemfile
gem “twitter-bootstrap-rails”
Then, please install the new gems
bundle install
After running bundle install, run the generator:
rails generate bootstrap:install static
ashish@ashish:~/Desktop/projects/task_app$ rails generate bootstrap:install static
Running via Spring preloader in process 18039
insert app/assets/javascripts/application.js
create app/assets/javascripts/bootstrap.js.coffee
create app/assets/stylesheets/bootstrap_and_overrides.css
create config/locales/en.bootstrap.yml
gsub app/assets/stylesheets/application
You can run following generators to get started with Bootstrap quickly.
rails g bootstrap:layout [LAYOUT_NAME]
rails g bootstrap:layout application
ashish@ashish:~/Desktop/projects/task_app$ rails g bootstrap:layout application
Running via Spring preloader in process 18093
conflict app/views/layouts/application.html.erb
Overwrite /home/ashish/Desktop/projects/task_app/app/views/layouts/application.html.erb? (enter “h” for help) [Ynaqdh] y
force app/views/layouts/application.html.erb
We have to override application.html.erb forcefully after running the rails g bootstrap:layout application
Now restart the rails application and it should look like that